Dental Plan!
Following up on the airbrush stages of the Mauler Squig, its time to break out the hand brushes and get some texture to these big neon balls! Creating more interesting textured patterns and raising the last stages of highlights on the skin is the goal here. A thing to note that even with the intensity of Neon paint is on the surface, its not the highest form of Value on the model and we still need to go higher. Without these final highlights, the skin will actually start to look dull next to the work we do with the teeth, metallics and other elements. Sure it will be saturated with a bright neon and look hot, but our highlights won’t match and we will loose the last big my dynamic range of the light.
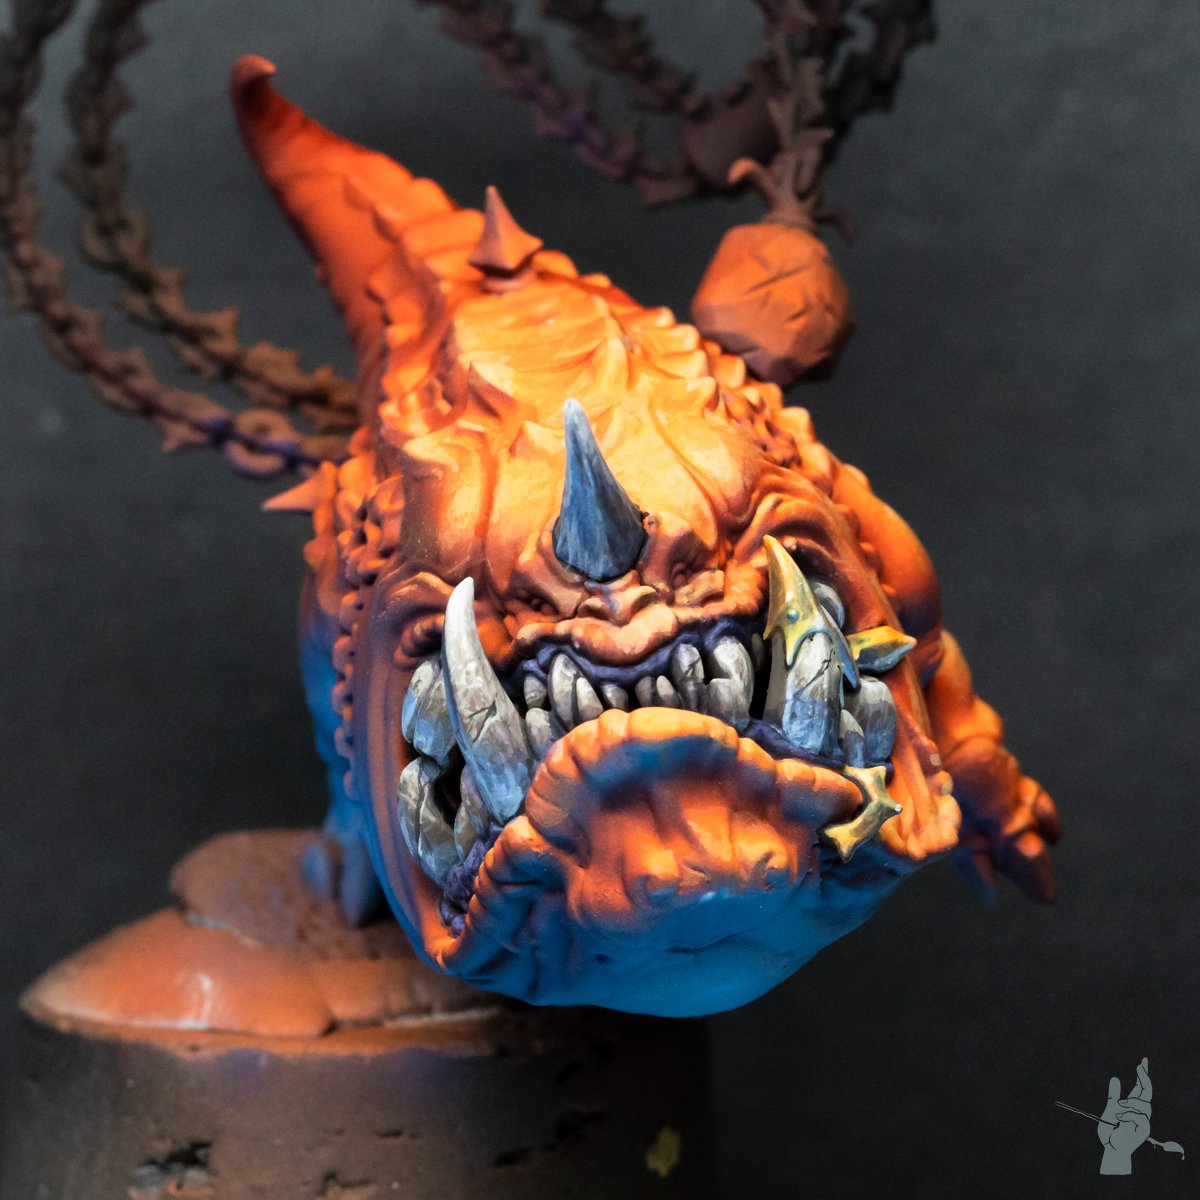
The Teeth themselves are my favourite part of the Mauler, and the most improved aspect in my person taste in comparison to the first Mauler I painted. Really emphasizing on the volumes of each tooth, and respecting their position both in the mouth and the orientation they have on angles of the 2 light sources (clamshell lighting). There is always room for some fudging and I don’t claim it to be perfect. Rather by being aware of the general lighting rules on both how the fundamental geometric shape the teeth share (cones and pyramids). And knowing where to place a gradient transition in comparison to a strong edge transition, we can give a good sense of volume and size to the teeth.
Both the skin and teeth were painted in a relatively quick succession, but by no means a fast 30min paint job. To do both sets of teeth and skin for the 2 Maulers, this took me a full day (approx 8hrs). Hence why I sped up some of the painting only after you’ve seen the strokes needed in real time. Sure some of the areas can look a bit rough, but mind you with larger models we are working on a larger surface with your eyes being drawn across. This can work to our benefit as we don’t need to get really into each element and make the smoothest of transitions. Bigger model using a bigger eye so to speak, while a smaller model uses a smaller eye to view.
Finally to wrap this up are the reference photos shot of the current project for your study. The Gold hardware on the teeth are coming in the next video which is exciting for me, and I hope you enjoy my continued passion for this project and NMM as a whole.